This article will show you How to Password Protect a Directory in Windows Plesk
Step 1. Log into Plesk

Step 2. Click on Password-Protected Directories

Step 3. Click on Add Protected Directory

Step 4. Enter the name of the Directory you want to protect, then click Ok

Step 5. The directory is now protected, however we now have to create at least one user that can access it. Click on directory name

Step 6. Click Add a User

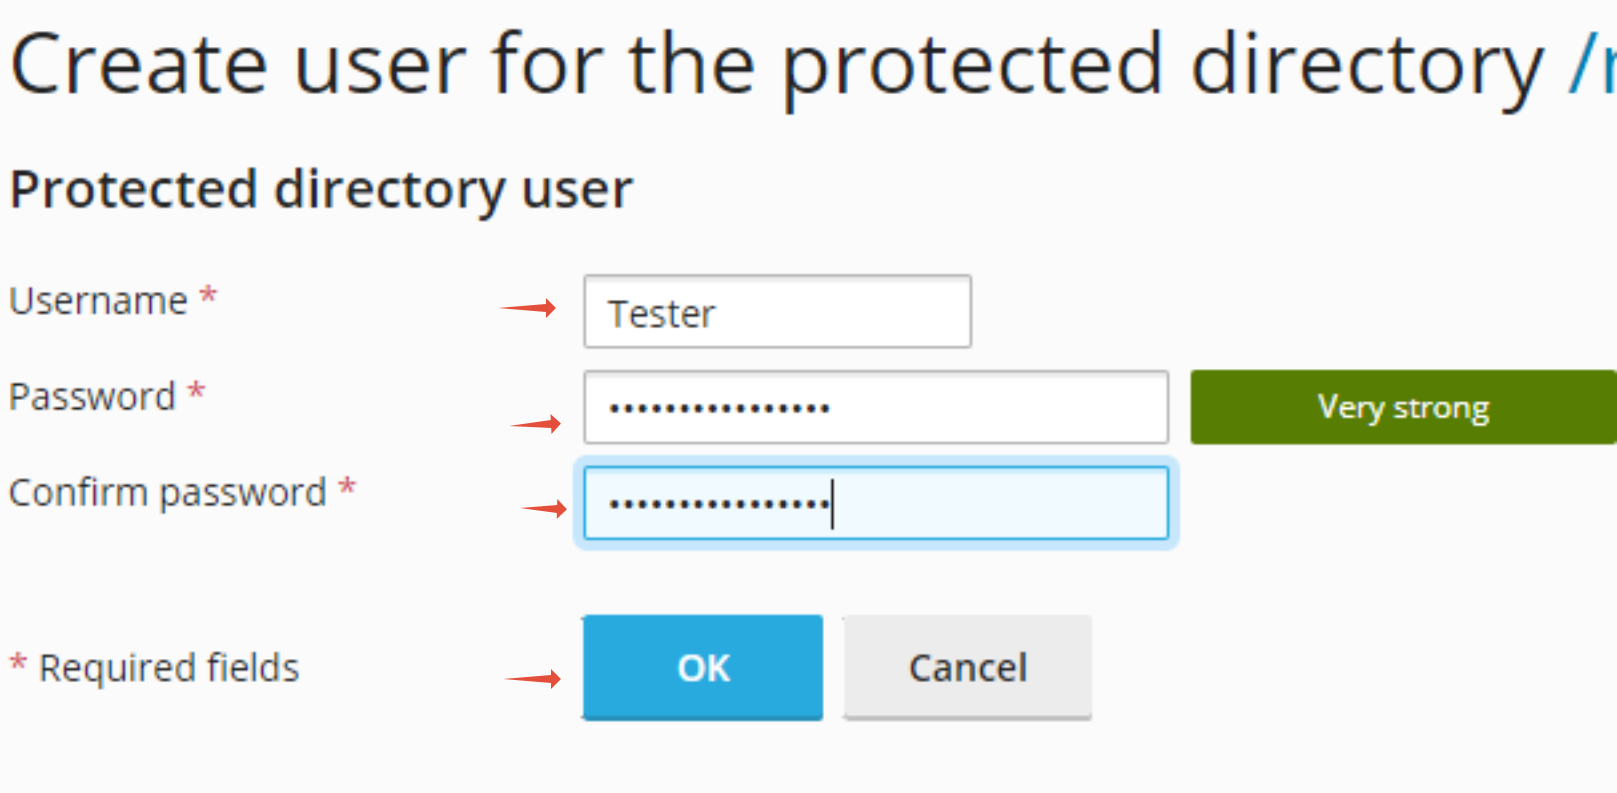
Step 7. Give the new user a username and password, then click Ok.