This quick guide will take you through the steps of managing your WordPress plugins.
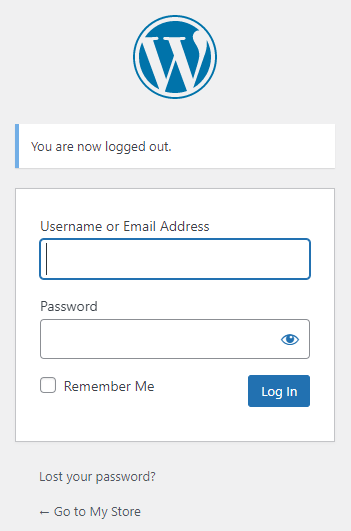
Step 1 – Login to your WordPress
- Login with your WordPress admin login details created upon installation.

Step 2 – Click on Plugins

Step 3 – Tick the relevant Plugin and update it’s status
- Activate – enable the plugin
- Deactivate – disable the plugin
- Delete – Completely delete the plugin from your WordPress

Disabling plugins via cPanel File manager
Step 1– Login to cPanel
- Please see our article on logging into cPanel here.
Step 2 – Click on File Manager under your Files section.
Step 3 – In you website directory go to wp-content > plugins
- Rename the relevant plugin to something like old_askimet for example.
- To active the plugin again just rename it back to the original folder name.
- Click Rename File to save changes.


