All-in-One WP Migration plugin exports your current WordPress website into a backup — an archive file with the .wpress extension, which then you can import in any WordPress site.
The plugin is a convenient solution for keeping regular backups of your website(s) for many purposes or just transfer website from one domain to another.
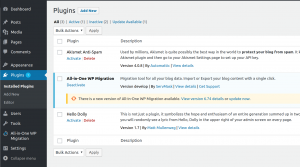
All-in-One WP Migration appears on your WordPress dashboard left panel when successfully installed, as well as in the list of plugins:
This tutorial contains details about:
- All-in-One WP Migration Backups Page
- Export Using All-in-One WP Migration tool
- Import Using All-in-One WP Migration tool
1. All-in-One WP Migration Backups Page
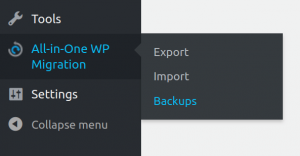
Backups page is accessible through the Backups option in the plugin menu:
Backups page shows the content of ‘ai1wm-backups’ folder in ‘/wordpress/wp-content/ai1wm-backups’. All-in-One WP Migration tool automatically creates the folder after installation. If the plugin does not have sufficient permissions to create it, it will output this notice to the screen:
“All-in-One WP Migration is not able to create [your-path-to-wordpress/wordpress/wp-content/ai1wm-backups] folder. You will need to create this folder and grant it read/write/execute permissions (0777) for the All in One WP Migration plugin to function properly.”
This means that you will need to create the folder manually and provide (0777) permissions for it by yourself.
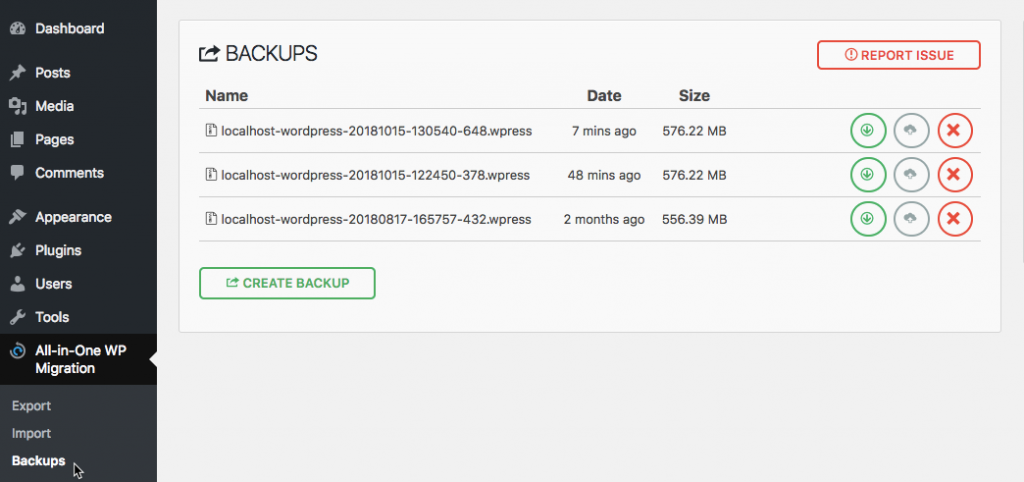
‘ai1wm-backups’ keeps backups on your server/local space. The files have extension ‘.wpress’.
Your latest backup will be at the top of the list as the creation time places the order of backups. Names will be generated using the logic “[your-wordpress-site-name]-YearMonthDate-HourMinuteSecond” at the moment of the backup creation.
Creating a backup and keeping it inside this folder initializes when choosing option ‘File’ from the Export menu, described in Step 2 of this guide. You can also copy and paste backups inside ‘ai1wm-backups’ folder via a local file manager or FTP/SFTP application. This page will then also list it. Please note that if you put files with extensions besides ‘.wpress’, they will not appear on the list.
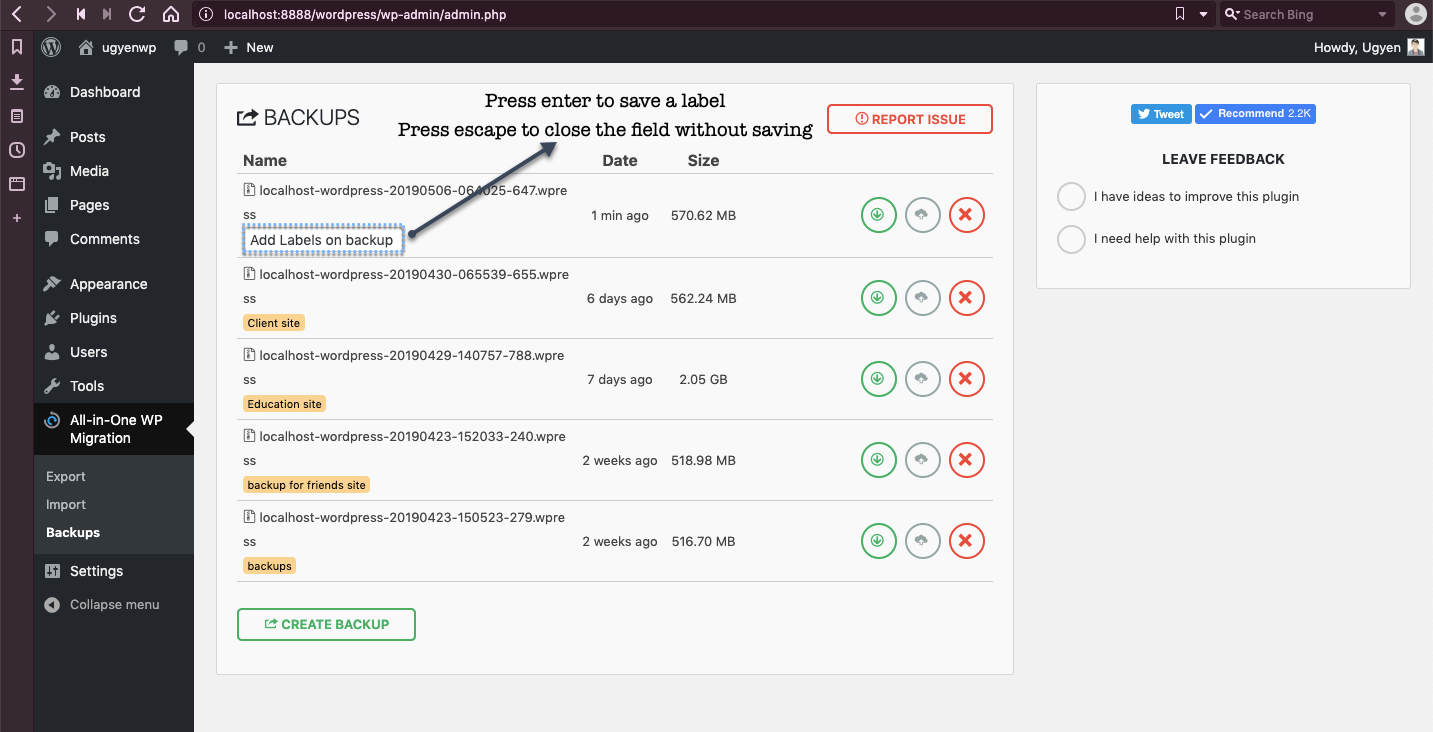
How to label backups:
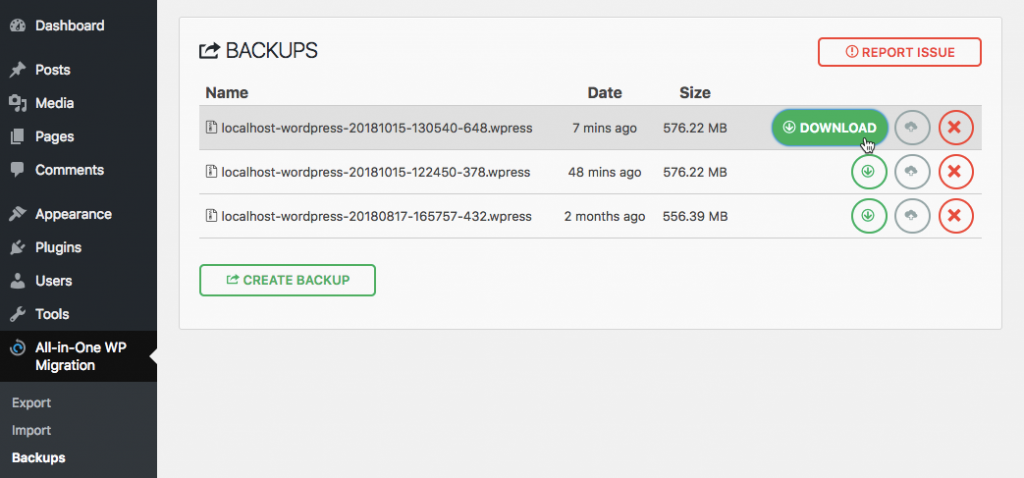
For each of the files on Backups page, you have three available options: Download, Restore, and Delete:
Option “Download” allows you to download the selected backup to your computer. If you use localhost, the file will save to your downloads directory.
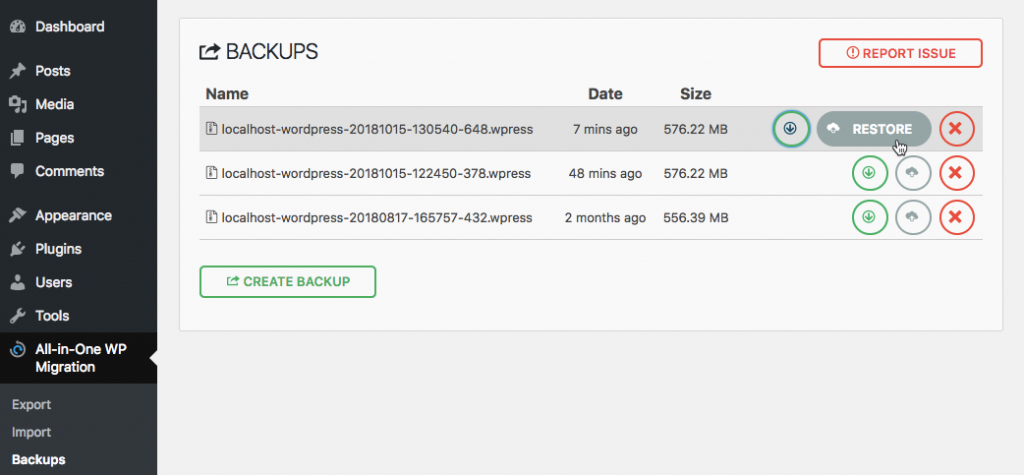
Option “Restore” will start the process of importing the selected backup into your current WordPress site:
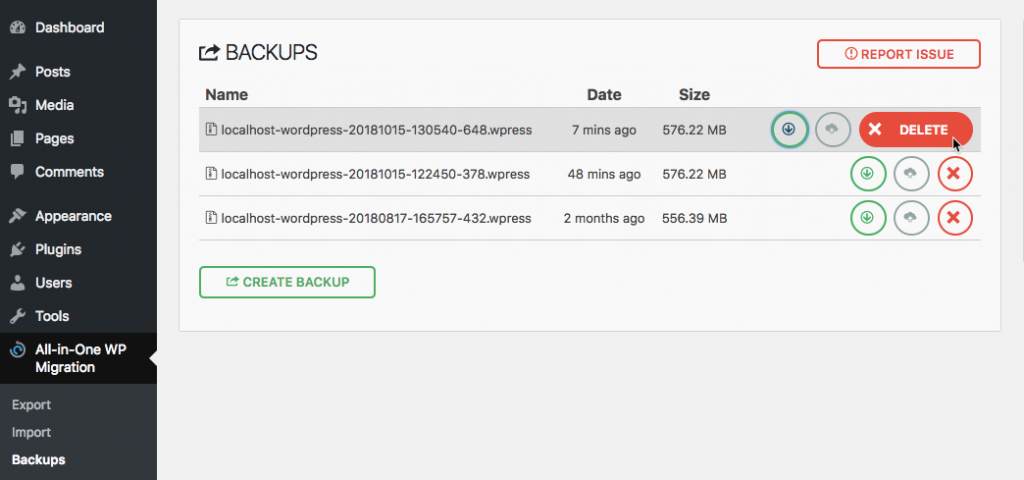
Option “Delete” will delete the selected backup from the ‘ai1wm-backups’ folder:
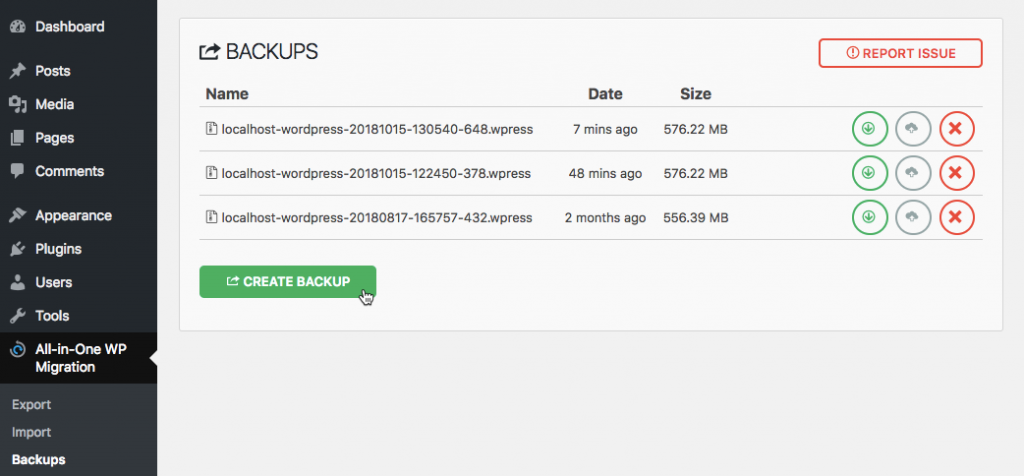
On the bottom of the backups list, you will see a button “Create Backup”:
This button provides quick access to export functionality and will take you to the Export page. Process is described in Step 2 of the present guide.
2. Export Using All-in-One WP Migration
2.1 Export Additional Settings
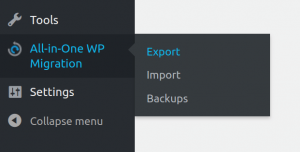
To use the export functionality and settings, navigate to the Export page via the all-in-One WP Migration dropdown menu:
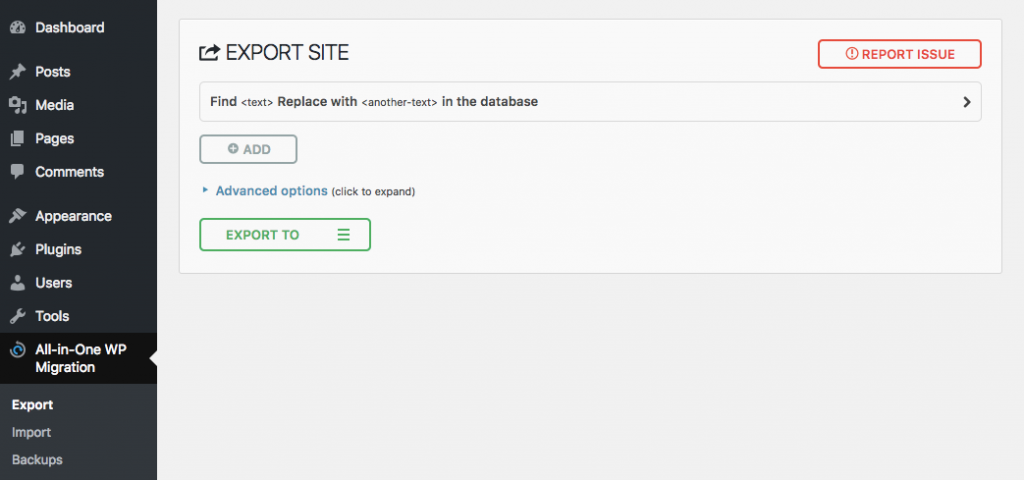
You can begin the export process on the Export page.
This page contains some additional settings that you can use before beginning the export process.
Find <text> Replace with <another-text> in the database
This option searches a website’s database for a text and replaces it with another in all places for as many pairs — find/replace — as you specify. Normal website migration does not recommend using this option because the plugin will handle renaming the site’s elements to the URL that you import to. Only people who understand WordPress database’s structure should use this advanced feature. Please keep in mind that this change may affect your user access details to the site — be cautious of what you replace.
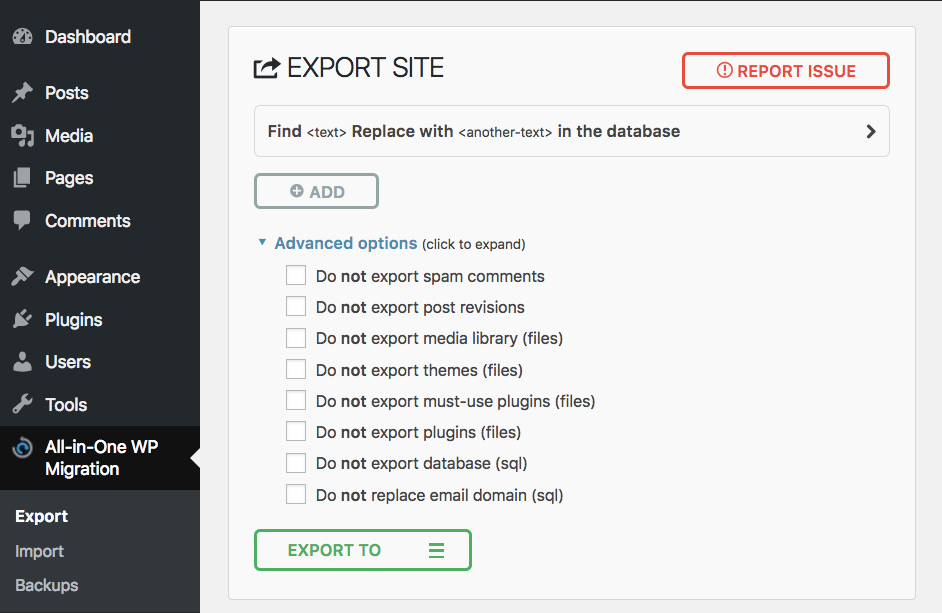
You can also find some additional options for excluding certain data from your backup under the advanced options menu:
The below options should not impact the success of your migration:
– Do not export spam comments
– Do not export post revisions
– Do not export inactive themes*
– Do not export inactive plugins*
– Do not export Cache*
*Available with premi

